Statistical Analysis of Non-Destructive Examination Data
In 2008, Becht Engineering was awarded a project by the Materials Technology Institute (MTI) to develop an inspection guideline document and software tool for the collection and analysis of inspection data for piping, piping components and pressure vessels. Dr. Eileen Chant, as project manager, collaborated with Bob Sims of Becht, Dr. Mark Stone of Sonomatic Ltd., the ultrasonic inspection technology company affiliated with Becht, and Dr. William Meeker, a statistics expert at Iowa State University.
MTI was founded in 1977 and is a not-for-profit technology development organization serving the needs of its members in key processing industries such as Refining, Mining, Energy production, Chemical production and other manufacturing industries for which safe and reliable fluid storage is critical.
A typical refinery or chemical plant may have hundreds of miles of piping and hundreds of pressure vessels that require regular inspection to permit their safe and reliable operation. The inspection document developed is intended to provide a step-by-step guideline on planning, organizing and conducting an inspection program for piping circuits and pressure vessels. The data collected are typically thickness measurements and may involve a hundred or more data points for a particular piece of equipment or piping system.
The guideline document will enable MTI member companies to improve their inspection programs through reduction in errors and good data management practices, which can be a formidable task considering the number of data points multiplied by the miles of pipe and pressure vessels. In addition, a summary of the types of corrosion or other damage mechanisms for commonly used alloys is provided. This allows the inspection team to anticipate the type of damage and severity that can occur. The document also contains discussions of measurement theory and statistical techniques used in the software.
The spreadsheet-based tool uses statistical analysis for analyzing data from measurement locations in a pressure vessel or piping systems. The tool evaluates the quality of the data by identifying outliers that could be a result of measurement error, local metal loss, or inappropriate thickness measurement locations (TMLs), such as a piping section with a different thickness. Step-by-step instructions on how to handle flagged suspect measurements are provided. In addition, the tool uses statistical models to predict the maximum metal loss in a population of thickness measurements, corrosion rate, a prediction of when the thickness reaches an unacceptable level, and the recommended next inspection date. A number of plots are generated which are used to visually assess the distribution of the data and present corrosion rates. A sample plot, showing the NDE data history plot and reported calculated corrosion rates, is shown above
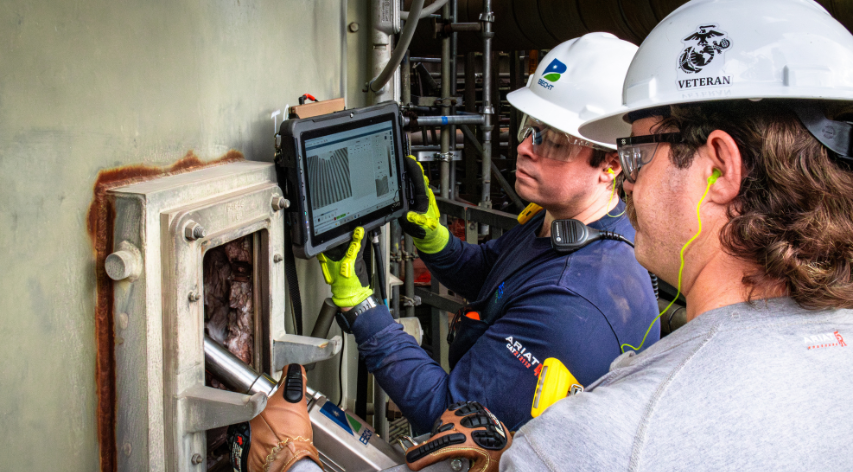
This tool is user-friendly and portable so that it can be used to immediately analyze the data as it is collected so that suspect thickness measurements can re-measured while the inspector and measurement equipment remain available for additional or verification measurements.
This project – when combined with appropriate risk-based inspection planning – can benefit the chemical process and refining industry by optimizing inspection intervals, reducing the risk of leaks/fires by focusing on inspection locations with the highest risk and highest consequence, and – in some cases – reducing inspection costs while simultaneously reducing risks.
Click to Request Info from Becht


